4 Tips for Designing and Printing Stickers


Stickers can be a fun, interactive, and relatively easy avenue for brands to increase their visibility, provided that graphic designers know the ins and outs of designing and printing for this application. The advancements in digital inkjet printing make this print method ideal for creating high-quality, durable stickers, but this powerful print capability comes with unique challenges and considerations for creating this type of print.
“The range of possibilities for materials, finishing, and embellishments expand creative opportunities for designers with up-to-date skills,” write Elizabeth Gooding and Mary Schilling, authors of The Designers Guide to Inkjet, 3rd Edition. “At the same time, production speeds and cost effectiveness of inkjet have lowered costs and time-to-market, bringing creative innovation and efficiency together.”
Here, we’ll look at four tips to help graphic designers harness inkjet’s print and color quality to create truly stunning stickers.

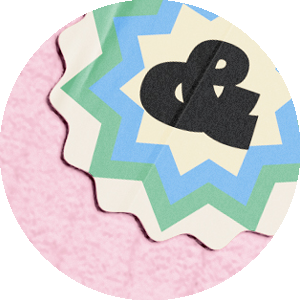
Choose the right sticker type
It can be easy to become overwhelmed by the variety of sticker shapes and sizes — the possible forms your sticker can take may seem endless. However, there are a handful of pretty standard sticker types that, with the right design elements and print processes, can be ideal for indoor or outdoor use on virtually any surface. These sticker types include:
-
Kiss cut, which is cut to a specific shape, leaving a paper backing that holds the design in place
-
Die cut, which is trimmed to a specific or custom shape
-
Geometrical
-
Sticker sheet
-
Static clings
-
Roll labels
-
Floor or wall stickers
Choosing the right sticker type can depend on the kind of substrates and finishing techniques your print partner provides. Establishing a clear line of communication with your printer and asking questions about their capability with these sticker types can help you avoid design and production complications down the road.
Start with the application environment for your sticker
A job well done is a job well planned, and planning for the application environment of your sticker is a key consideration when embarking on a sticker design. Stickers can be printed for indoor and outdoor use, and understanding how and where your sticker will be applied can significantly impact subsequent design choices.
For example, stickers that will be applied outdoors will require an enhanced level of durability that you may not be able to achieve with conventional paper stocks. Outdoor stickers or decals are commonly printed on vinyl substrates and will require a specialty coating to protect the sticker from sunlight or other environmental elements.
Other elements to account for include the type of adhesive and the actual application surface — designing and printing a sticker for a glass surface is different from a car bumper. Digital inkjet offers the print versatility to help designers create a high-quality, memorable sticker or decal, regardless of the application.
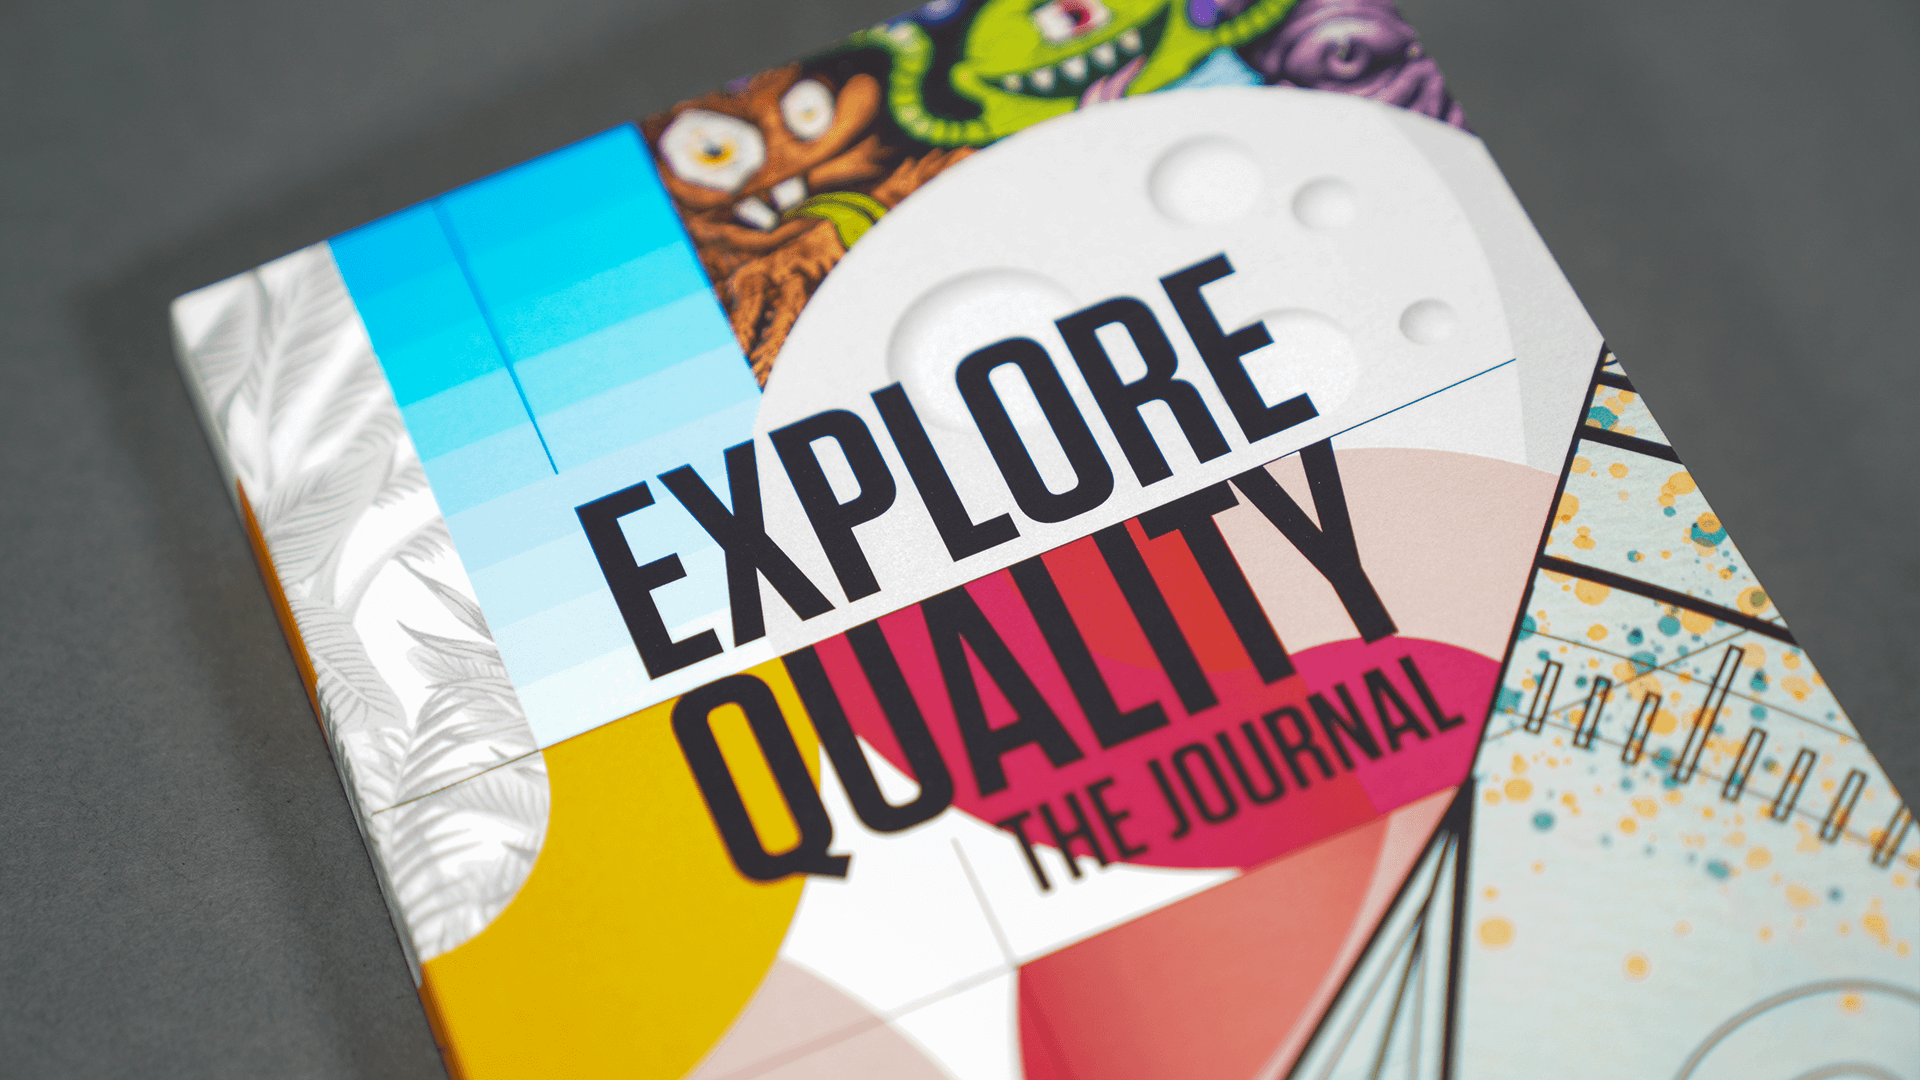
“Textured or synthetic media can create a “touchy-feely” layer to your design that makes it memorable, otherwise known as haptic feedback,” write Gooding and Schilling. “Texture can also add visual depth to the graphic design.”
The right resolution is key
Yes, the ideal resolution is key for any design project, but the range of size and shape options makes ensuring the right resolution even more important for stickers or decals. Designing a sticker that will be applied to a wall comes with different requirements than designing a sticker for a laptop, and image resolution plays a key role in printing a sticker with crisp, clean colors and fonts that are readable and clear.
Though the measurements can vary depending on the printer, most inkjet devices can produce images at 300 dpi. This means that every inch of the substrate contains 300 dots of ink, and 300 dpi is more or less the standard for designers in printing the highest quality images.
Gooding and Schilling argue that there are a couple of best practices designers can implement when selecting or adjusting image resolution to create high-quality images that are not blurry, pixelated, or dull.
“Although high resolution adds to the overall size of press-ready files, keeping the resolution of any photos or bitmap images consistent with press resolution is important if you need to reproduce them with the highest detail possible,” write Gooding and Schilling.
Have fun with finishings
Focusing on finishings at the beginning of the sticker design process can not only streamline production but can also help drive the creative direction for the entire project. Finishes can serve a couple of key purposes for stickers and decals. First, they can better protect your sticker and increase the piece’s durability and lifespan, and they can add a level of sophistication to help your sticker stand out.
This is key for B2B companies that may use stickers or decals to help drive brand awareness at events, or as part of a free promotional giveaway campaign.
For example, a holographic or glitter finishing for your sticker can not only differentiate it from others, but it can also create a more engaging, immersive experience. Other common finishings for stickers include matte, gloss, foiling, and UV coating.

While these design and print tips can help you harness the power of digital inkjet for creating superior stickers and decals, there’s still so much to know about using digital inkjet in this way. The Designer’s Guide to Inkjet, 3rd Edition has everything you need to know about designing and printing high-quality stickers. Download the guide to learn more.
See More Like This
See More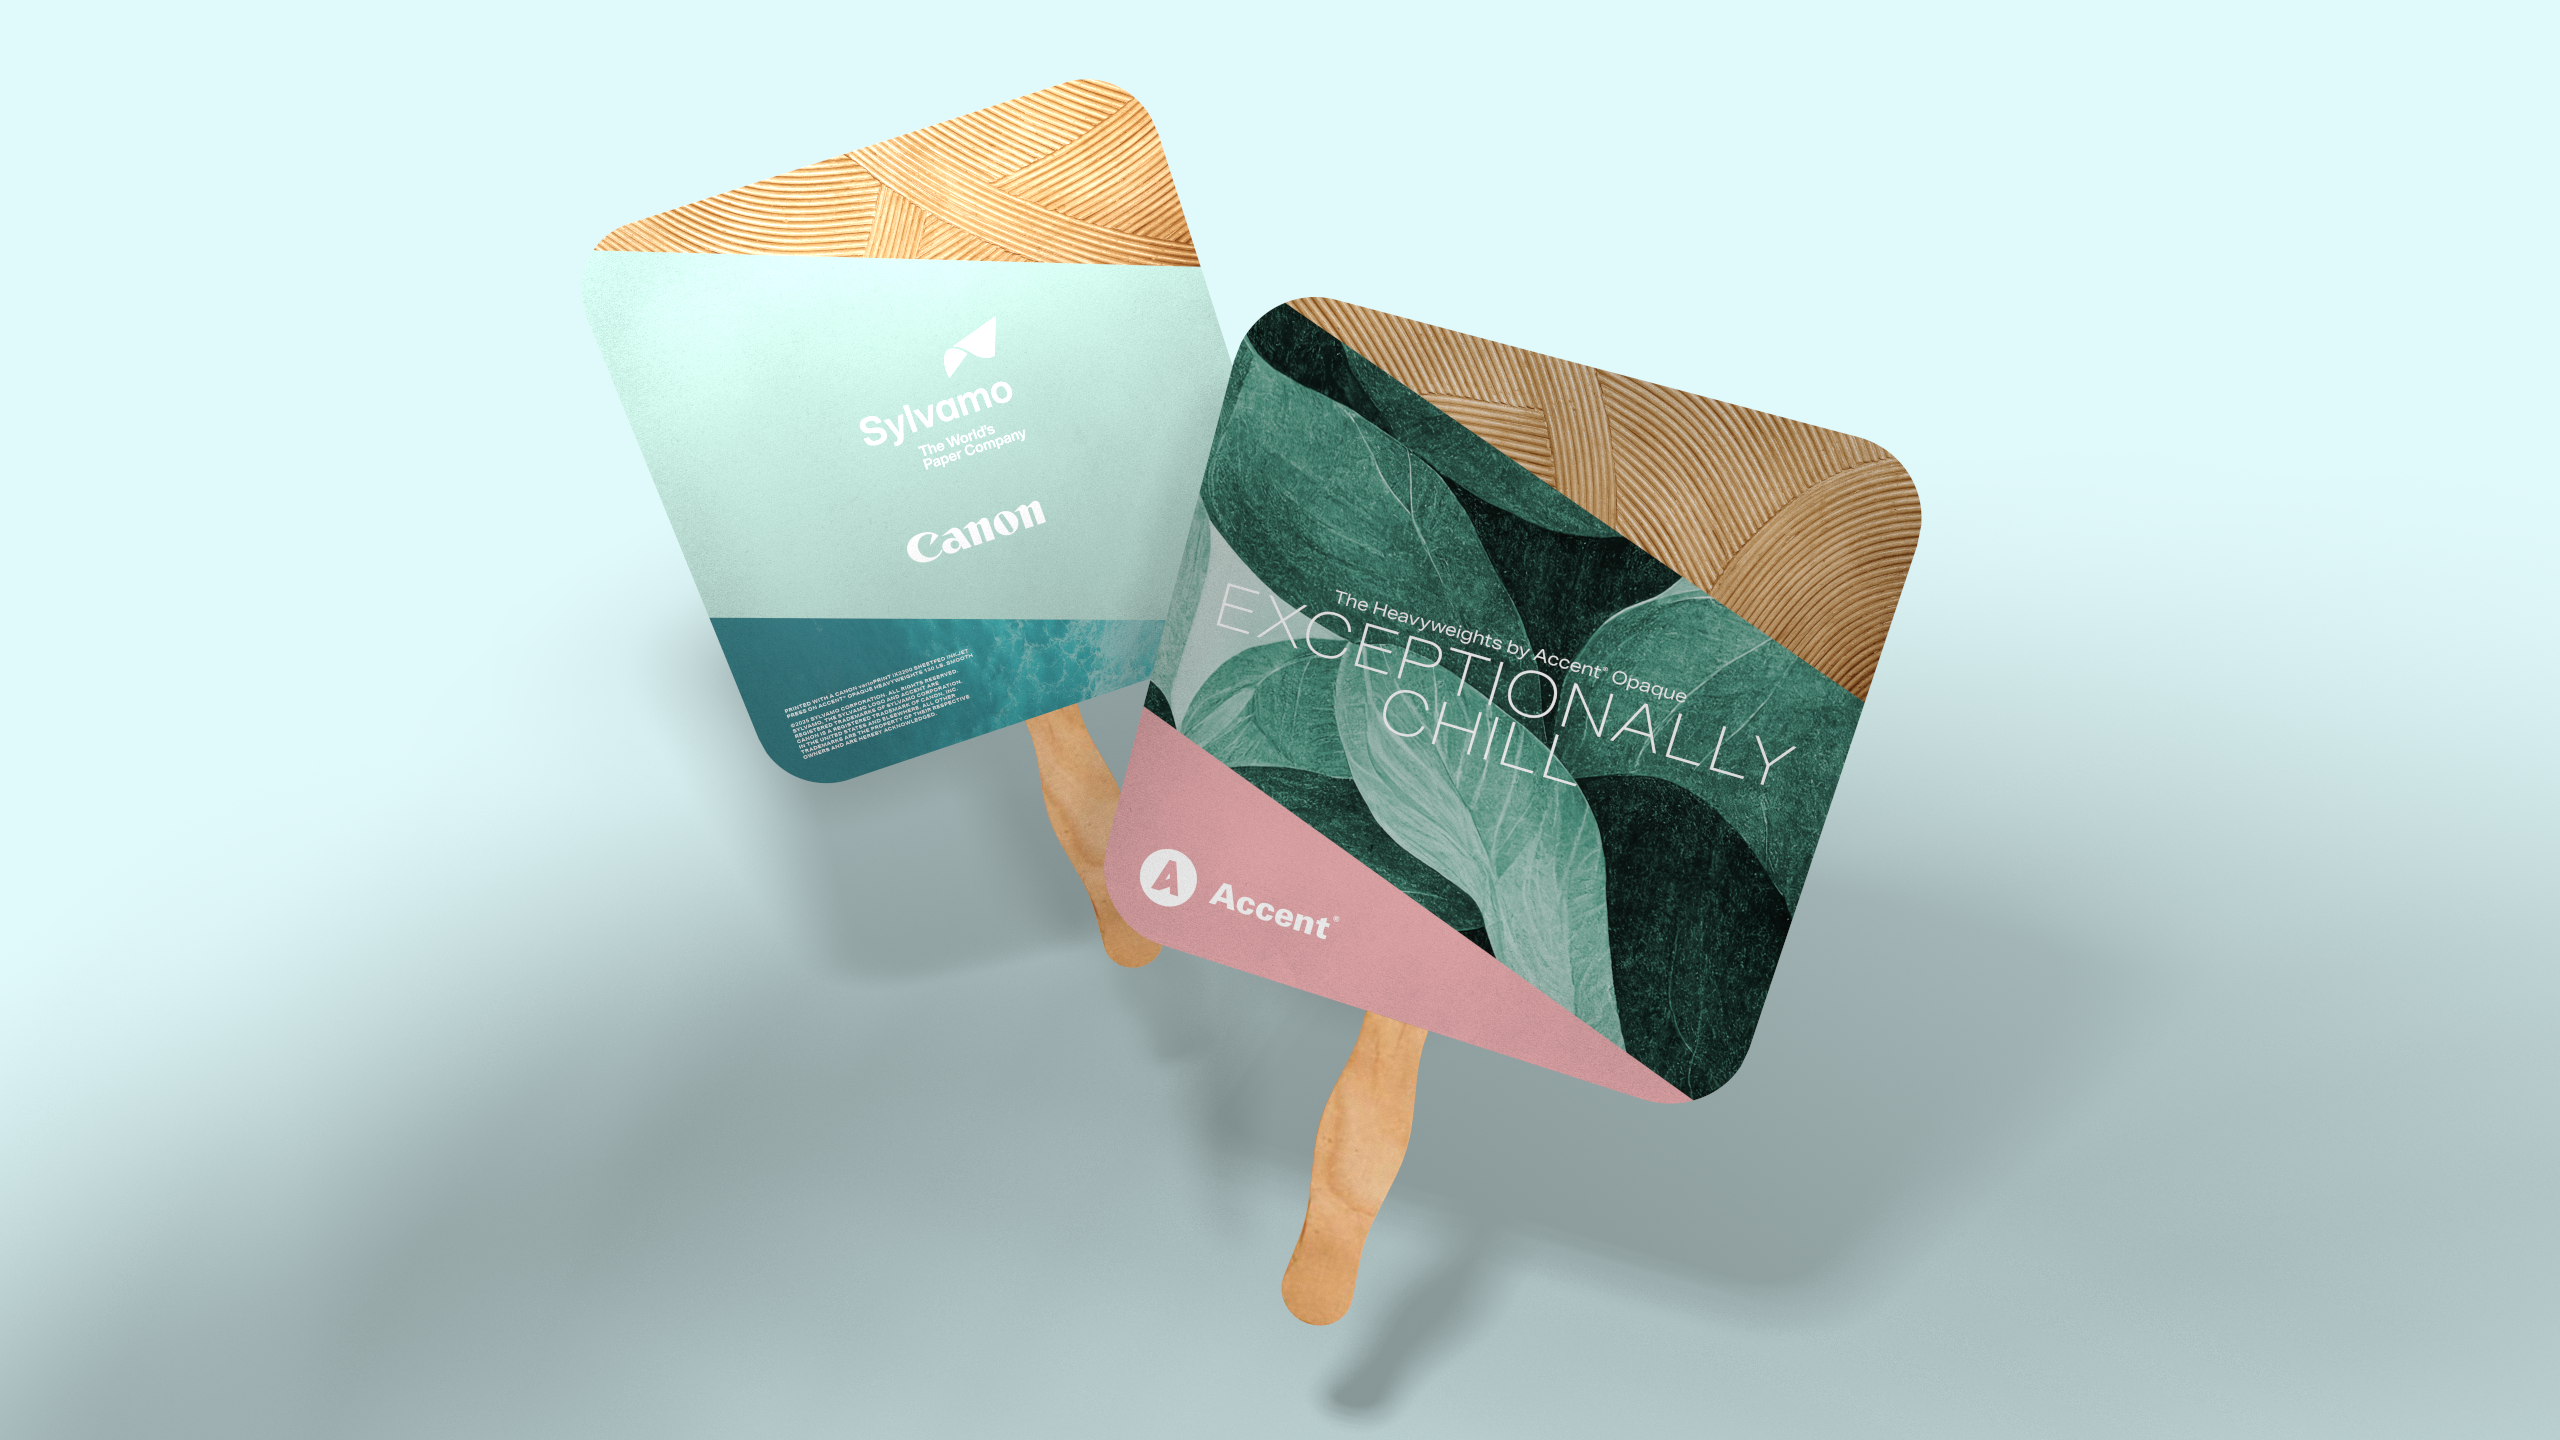
Marketing Collateral
Project Spotlight: A Practical Giveaway to Keep thINK Ahead Attendees Cool
Marketing Collateral
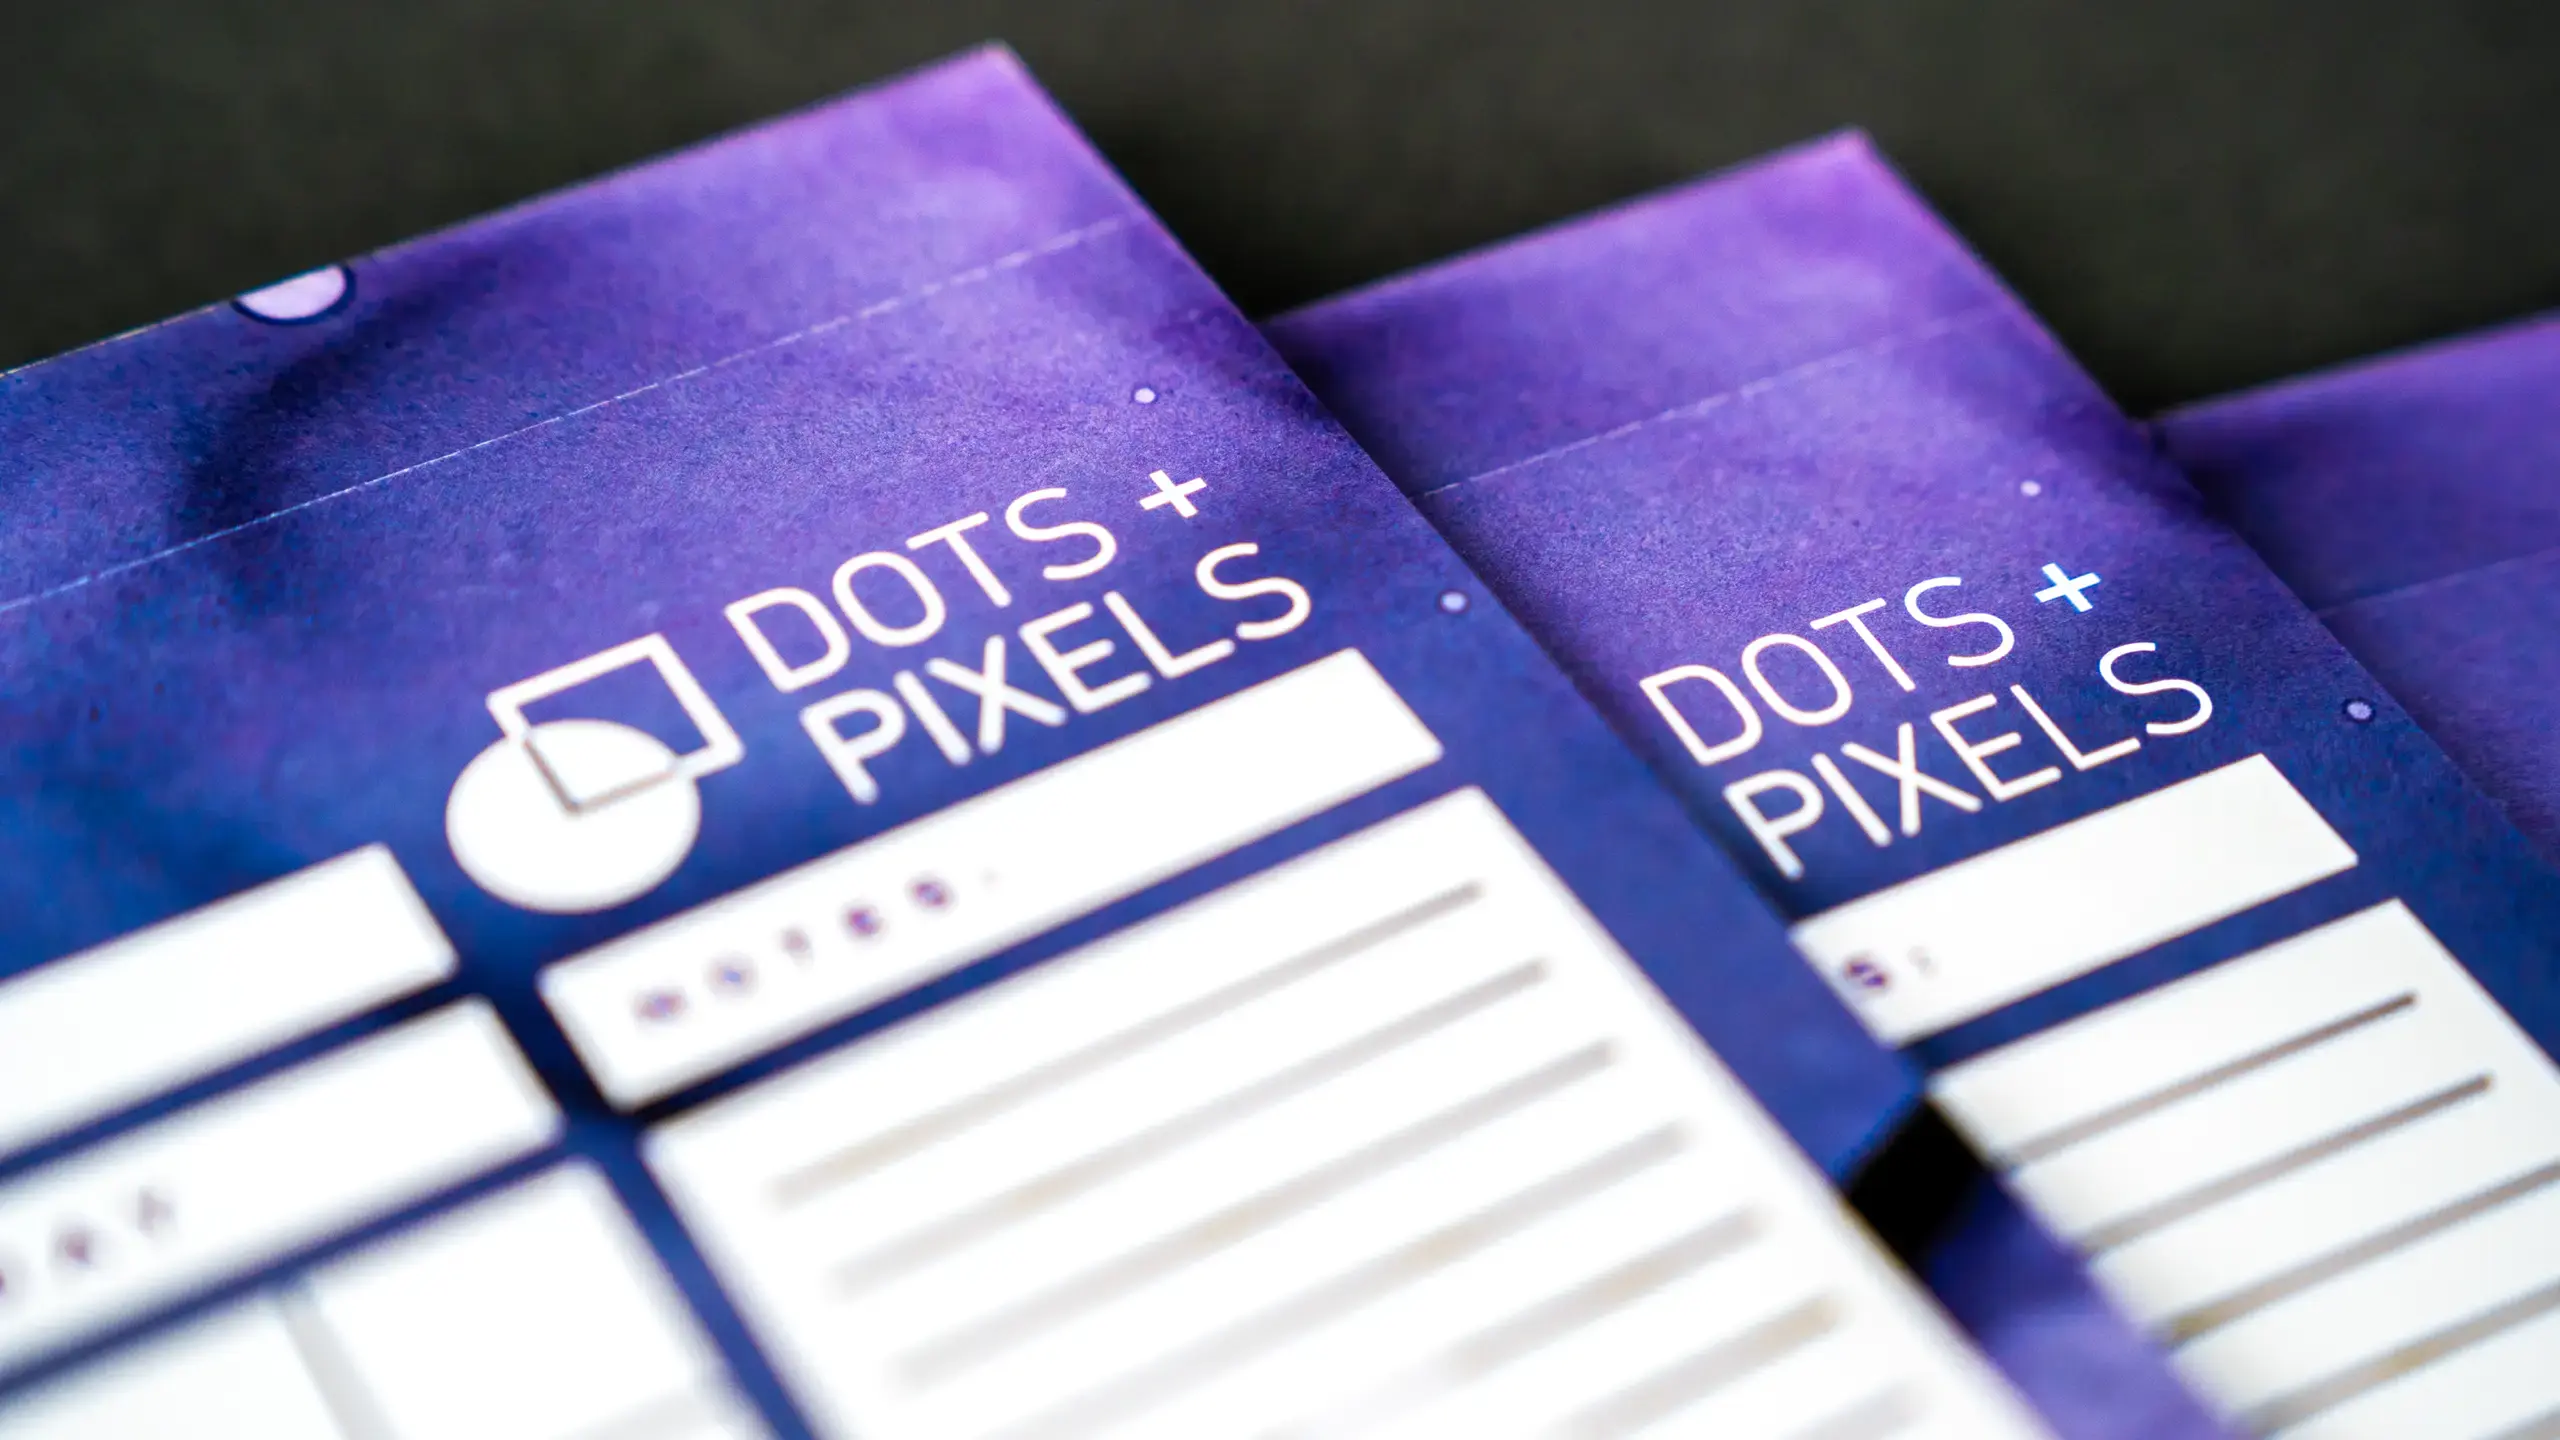
Project Spotlight: A Blank Canvas for Organization and Inspiration
Marketing Collateral
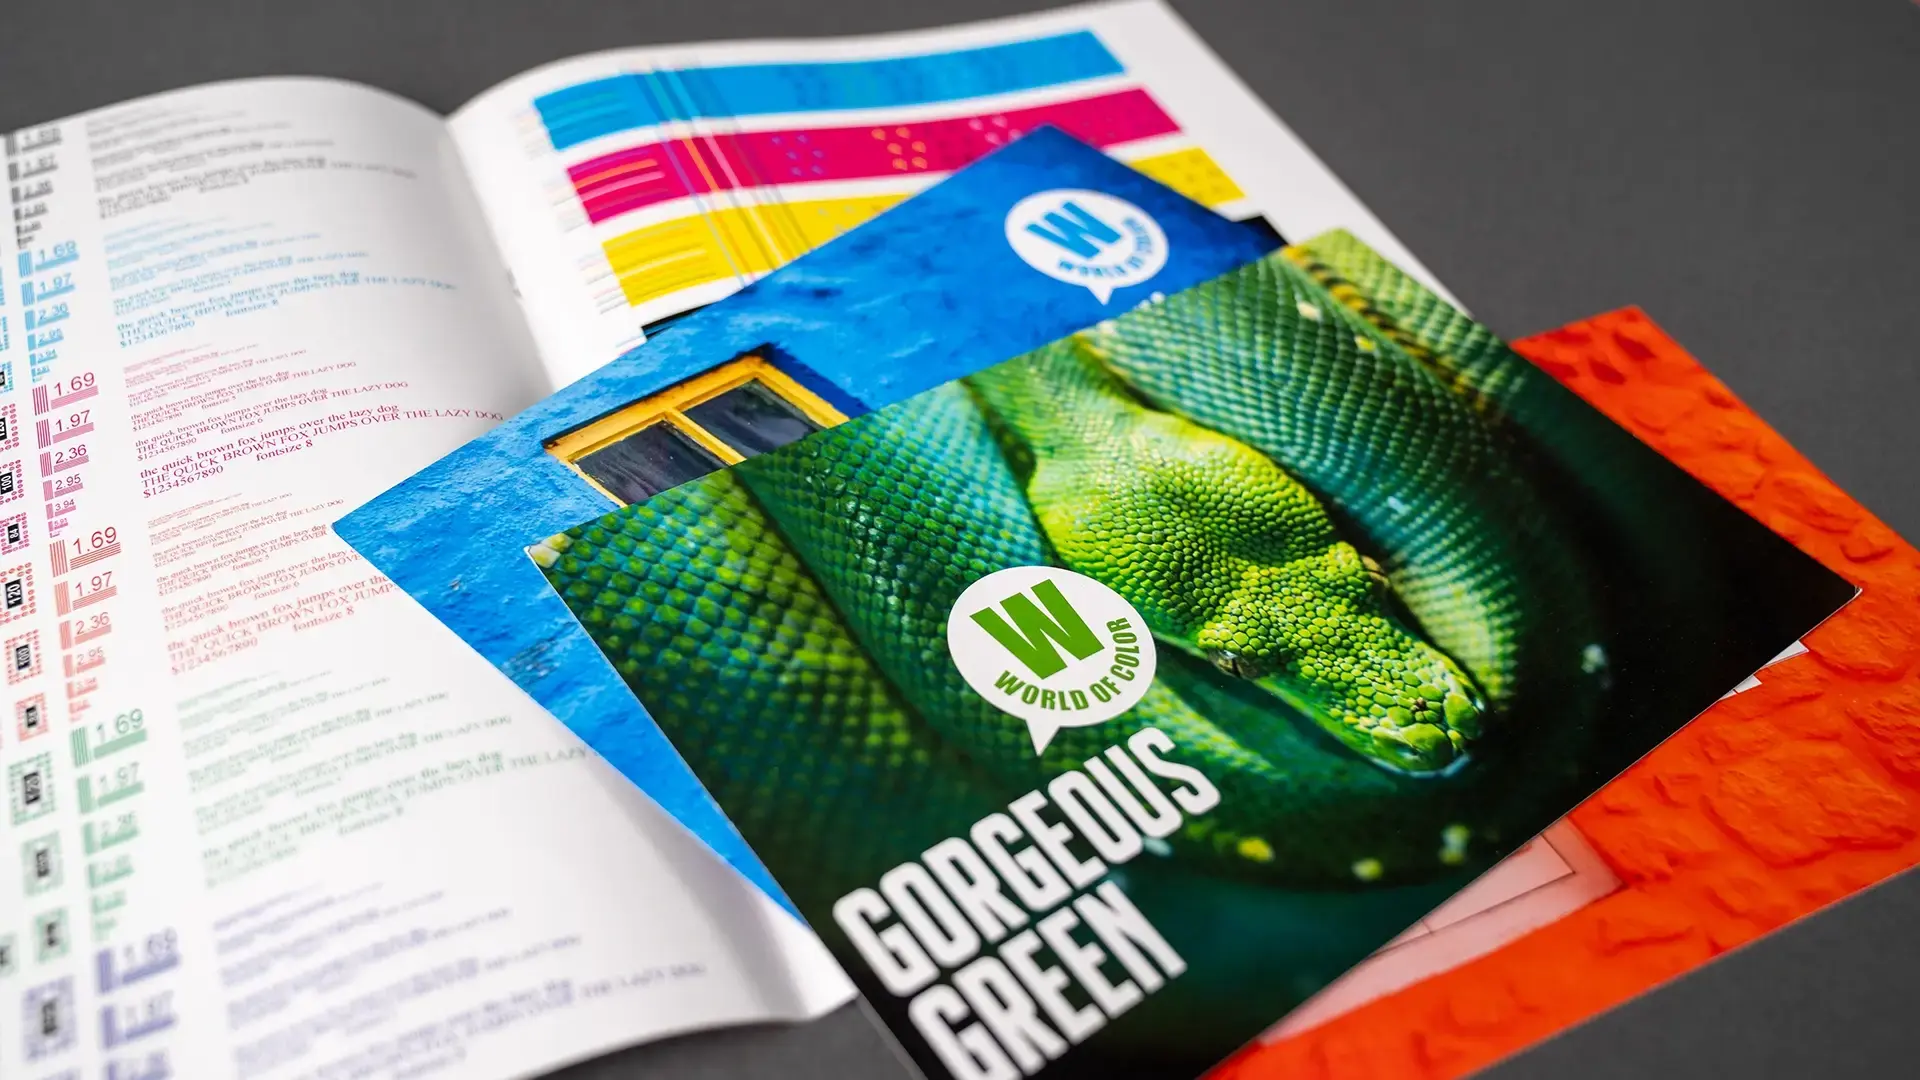
Project Spotlight: Exploring the Wide World of Color
Marketing Collateral
Project Spotlight: A Planner and Journal for Exploration and Discovery